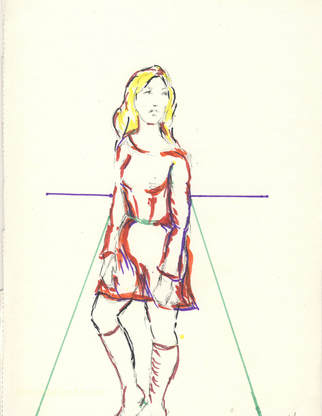
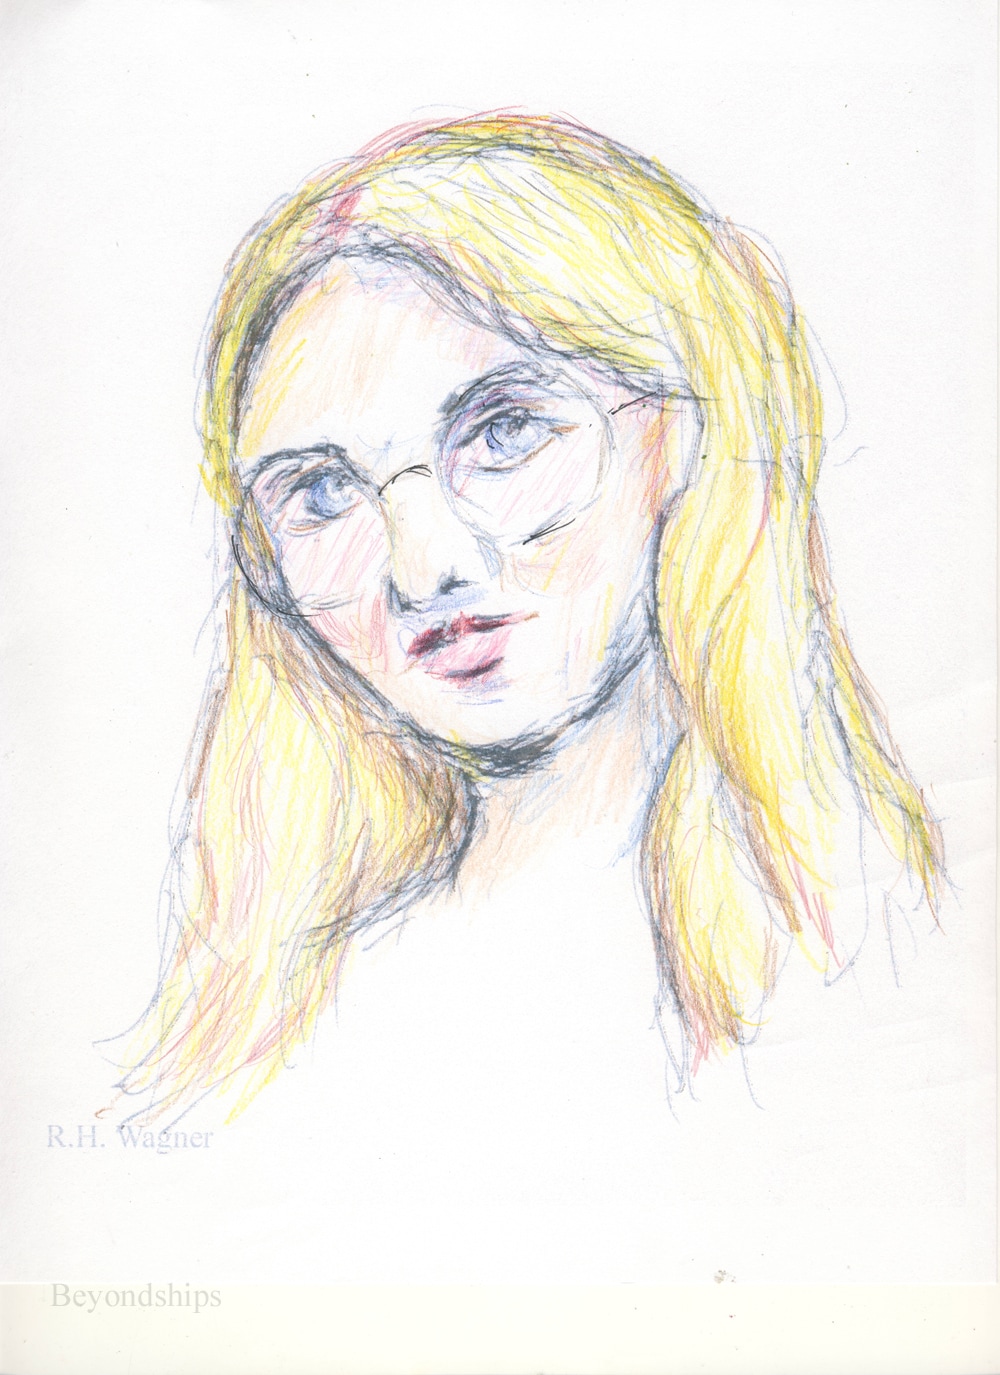
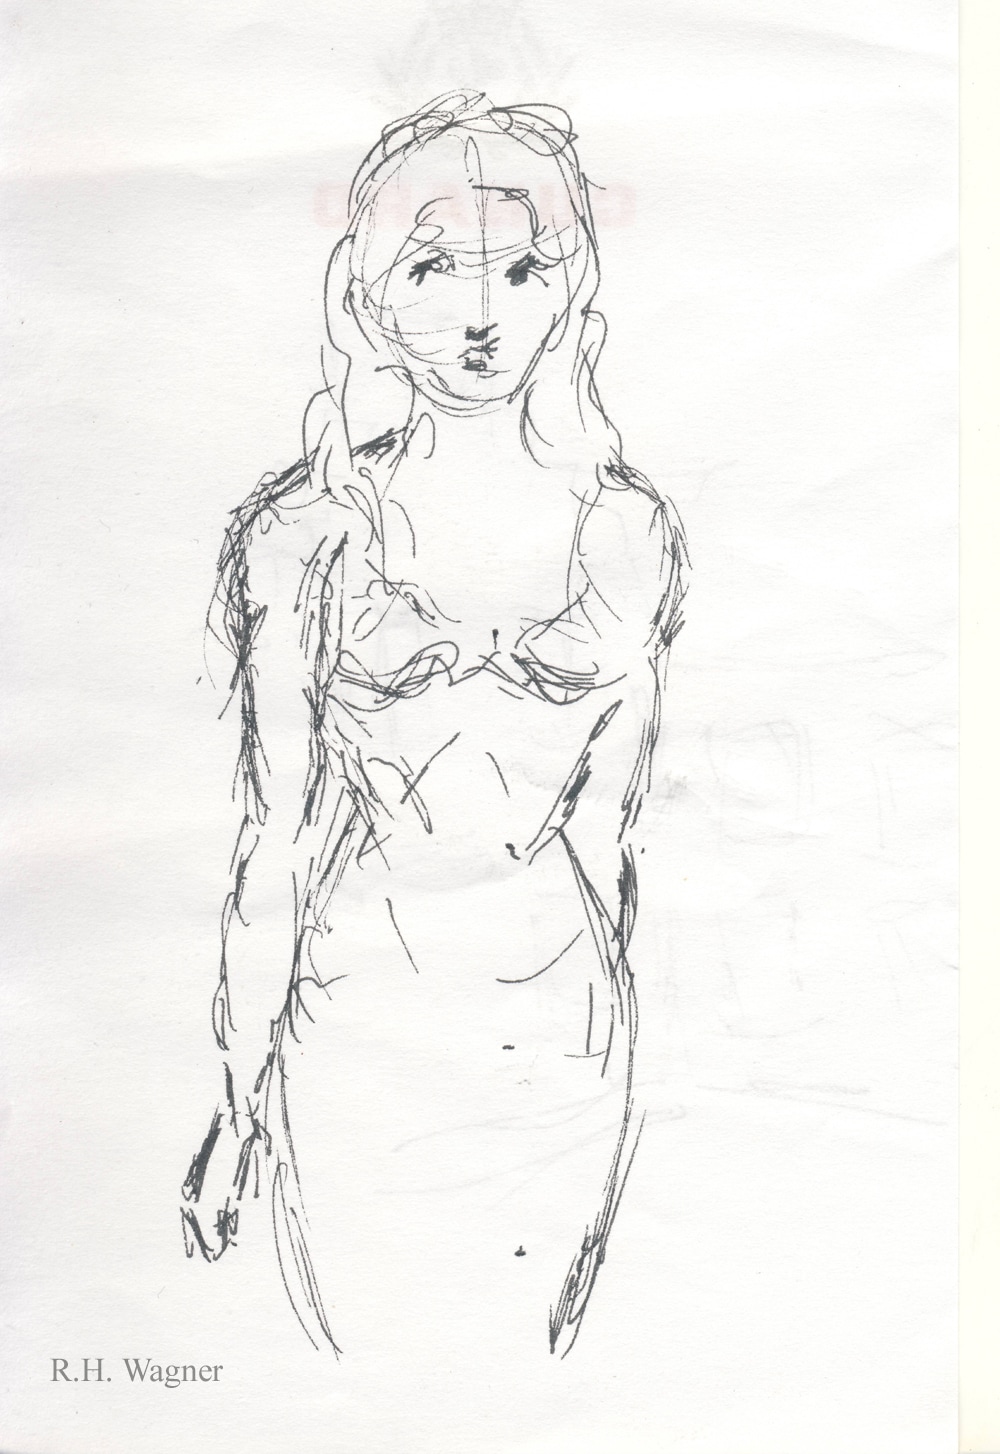
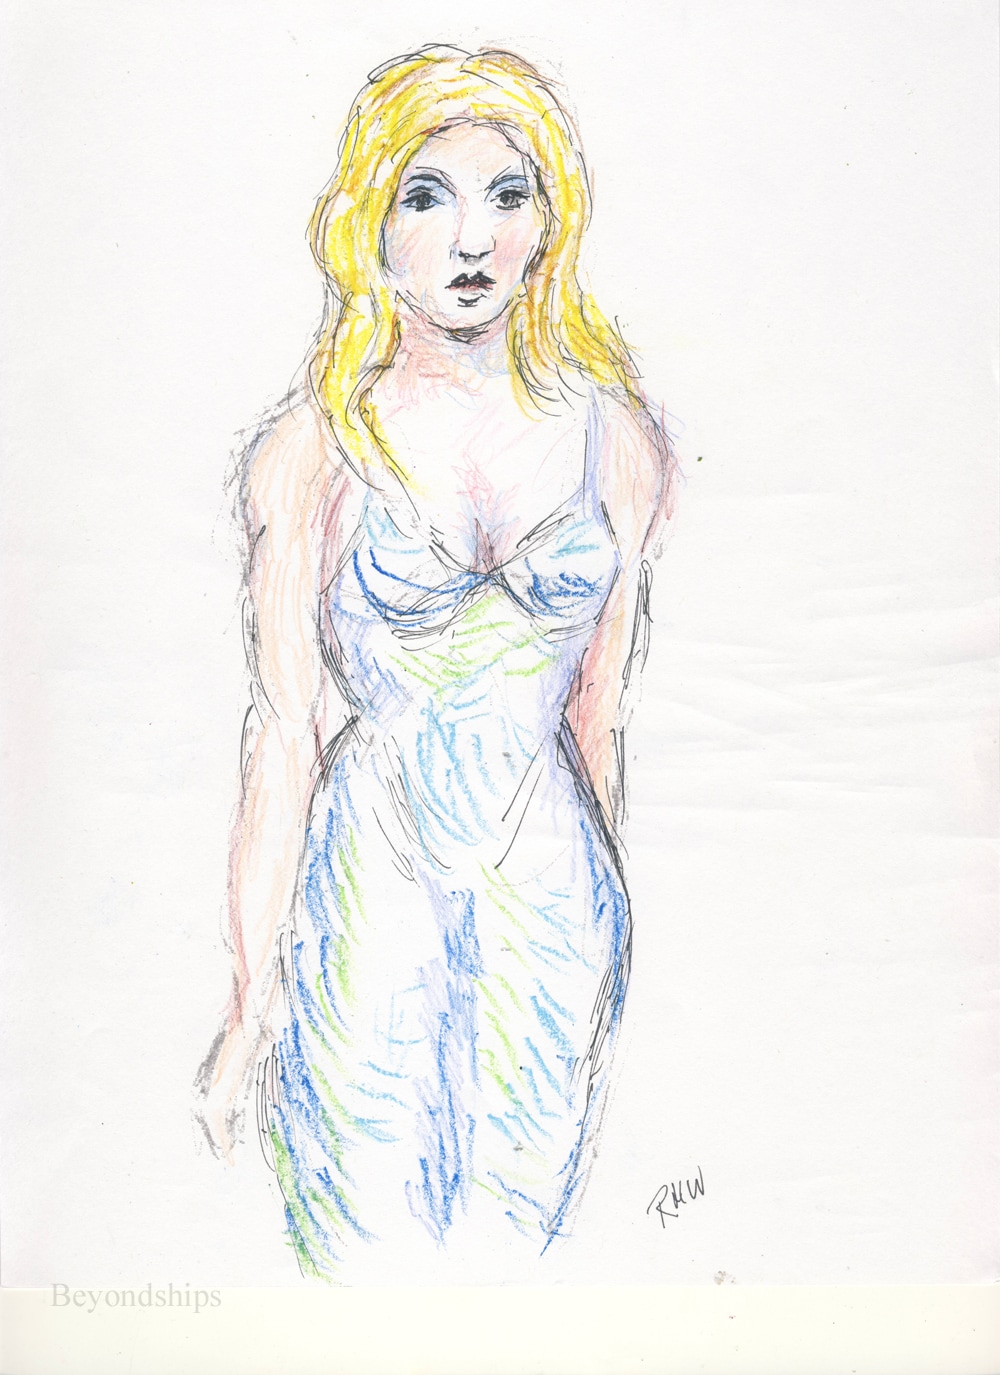
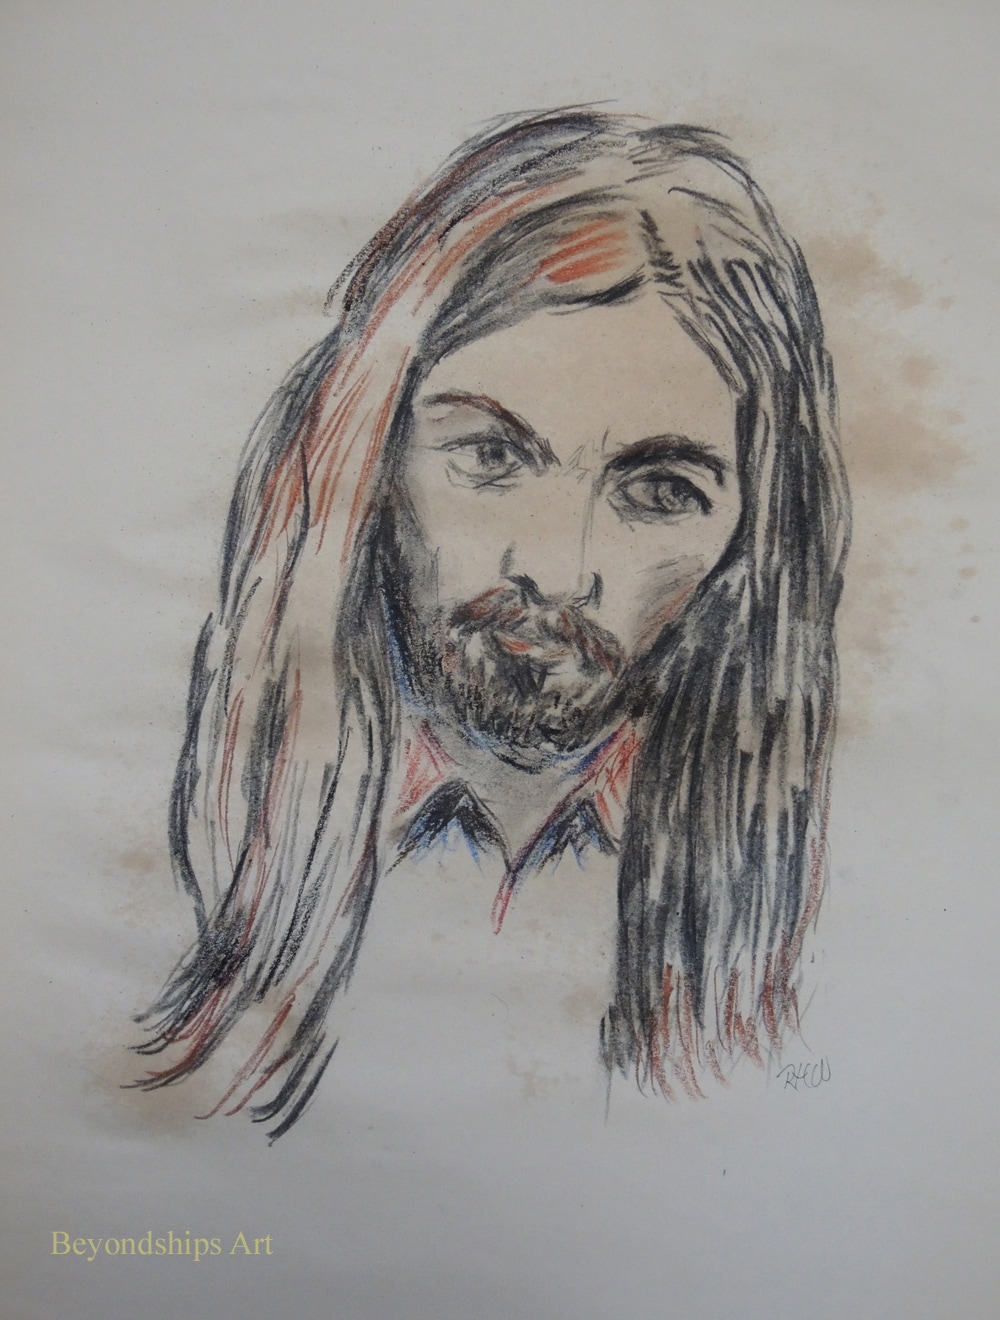
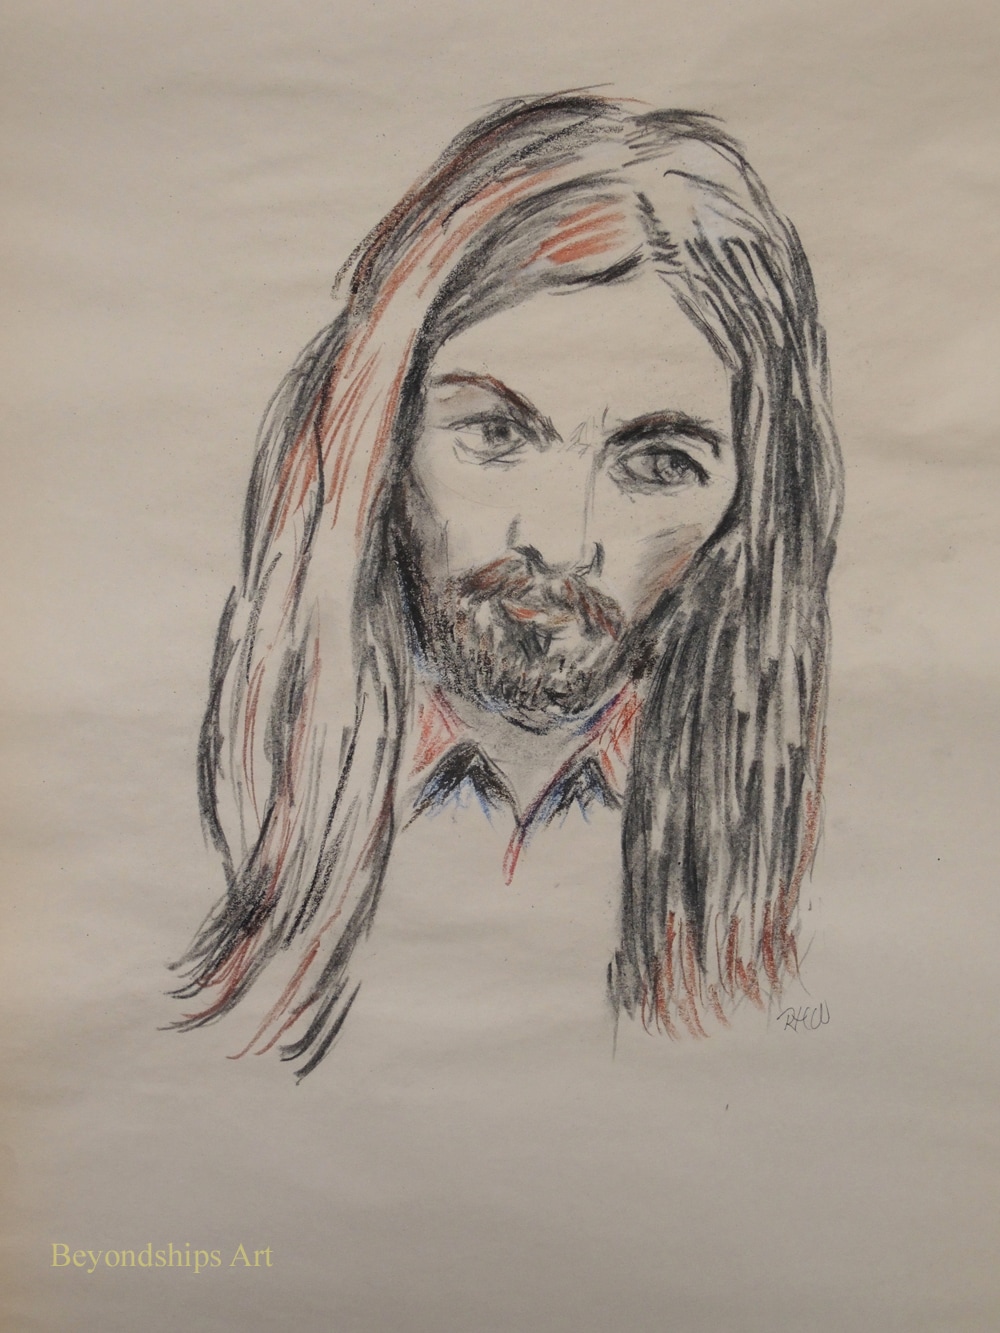
 Several people have asked me to explain what I mean by “essential line drawing” as used on this website and in various postings that I have made on social media. Essential line drawing is a term that I use to describe a type of drawing that I have been doing for many years now. I doubt that it is in any art dictionary but it is a handy way of describing this type of drawing. Distilled to its essence, essential line drawing seeks to produce an image with the minimum number of lines that are needed to convey the concept that the artist is trying to express. For example, in a portrait, the image would be the minimum number of lines needed to convey the essence of the sitter. In a scene, it could be to the lines needed to express the emotions of the moment. This is not meant to be an academic exercise. The objectives are simplicity and clarity. You are putting aside what is non-essential in order to allow that is essential to show through more clearly. There are examples of essential line drawing in the works of many famous artists. Papblo Picasso and Henri Matisse did essential line drawings. More recently, you can find examples in the works of Peter Max. Each of these artists had their own approach but the basic concept is the same. The end result often sits on the border between realism and abstraction. You can tell what the image is but it is far from being a photographic image. From a techncal perspective, the biggest difficulty often is doing too much. If you put in too many lines, it becomes a standard line drawing. More importantly, they obscure the concept. Again, the objectives are simplicity and clarity. This is not to say that the essential line approach is the only way to produce art. It is simply one approach that I use. There are examples of essential line portraits and essential line figure drawings on Beyondships Art. As I have mentioned before, I often do sketches while I am commuting on a train or when I am sitting waiting for something such as a doctor's appointment. For the most part, these sketches are just for practice. However, from time to time, one is a special image that I would like to take further. The problem is that the sketches are small, pocket-size images done on a note pad or on a piece of scrap paper. Their size and the quality of the paper preclude trying to make them into a series piece of art. My solution has been the traditional one - - I hand copy the image onto a larger, better quality piece of paper. Once the image has been successfully transferred, I can add color, change it or otherwise develop the work. A problem with this method is that sometimes something gets lost in making the copy. An image can have a certain something that cannot be re-captured no matter how hard you try. A random line or two may be what gives the sketch its character. Also, hand copying can be a lot of work. This week, I tried an experiment. I took two small sketches and made high-quality digital images of them. Once you make a digital image of a work, there is a lot that you can do with it using a photo editing program such as Photoshop. You can add color, erase mistakes, improve the brightness and contrast etc. But I was not looking to digitally manipulate these sketches. Rather, my goal was to enlarge the image and then work on it by hand. Therefore, the next step was to print the images. Of course, the print will depend upon the quality of the printer. However, using my rather ancient printer, I was able to print out acceptable quality prints that could serve as the base for further development. I then used a pen to emphasize some of the lines. For color, I used colored pencils on one and Cray-pas on the other. I was pleased with the results. The size of the works was now more substantial. Also, the addition of color had enhanced the images. Clearly, there are limitations to this process. The largest paper my printer will accept is A4 so the image cannot be larger than one that would fit on that size paper. Along the same lines, he printer is probably not capable of handling heavy water color paper and the like. A better printer would push these limits out further. I don't think I will give up on hand copying. However, this little experiment has put another arrow in my quiver. Before and after. On the left side are the original images, both done on 3 x 5 inch note paper. On the right, are the images after scanning, printing and further development by hand. They are now on *.5 by 11 inch paper.
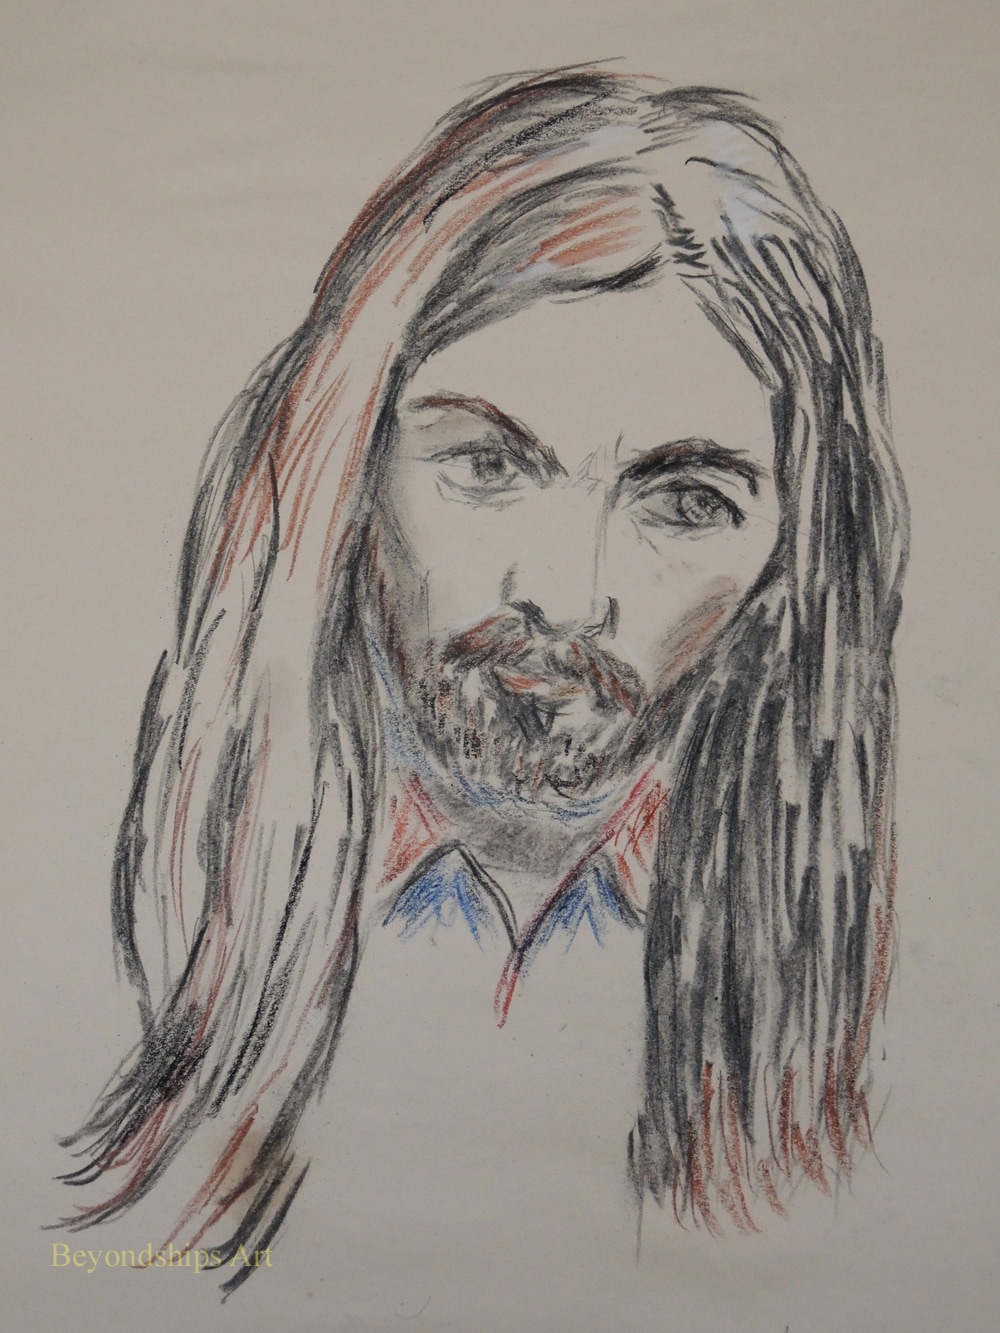
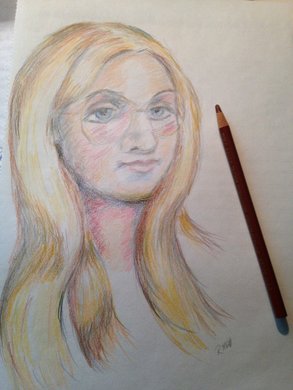 A smart phone image of a work in progress. A smart phone image of a work in progress. I find that the more I work on a picture, the less I am able to see it. No, I don't mean that my eyes become blurry. Rather, I mean that I am less able to see the picture objectively. This can lead to three problems. First, I can't see the mistakes that I have made. The eyes in a portrait can be positioned at different levels making the subject the look like something from a horror movie. Yet, what I see is something that Leonardo Da Vinci would envy. Second, I go on working even though the picture is finished. A picture can easily be ruined by overworking it. Third, I go on working on a picture even though it will never be anything worthwhile. Some pictures are just failures. There is a tendency to think, if I just make a few more changes it will be a masterpiece. However, in reality, you're just wasting your time. Better to start something new. The inability to see a work objectively occurs because the mind has a tendency to see what it wants to see. Therefore, what is needed is a fresh view of the picture. My mother, the artist Valda, used to recommend holding the picture up to a mirror. This breaks the spell and in the mirror image,you can see the work much more objectively. A technique more suited to the digital age that I often use is to take a photo of the picture with the camera in my smart phone. The objective is not to get an image that you would want to share with friends and family but rather to look at your picture in a different way. My smart phone is well-suited to this task. It takes a serviceable image in almost any light. In addition, I can see the image immediately on the phone's display screen. I often end up taking several pictures as I work. Having used the smart hone to detect a problem, I endeavor to correct the problem on the original picture. Another photo tells me whether I really have solved the problem and whether there are other problems that need correcting. The only problem that I have found with this technique is that it can use up the storage on the smart phone. Therefore, it is best to delete the images as you go along. I had an idea for a drawing so I grabbed an old piece of soft charcoal and a pad of newsprint paper and began to sketch out my idea. The sketch was coming along when I decide to use my finger to smudge one of the lines. To my horror, not only did the line smudged, it all but disappeared. Clearly, this image would not stand up to being stored or displayed. By this point, the drawing had progressed quite far along. I thought about copying it over onto a better piece of paper using another medium. But that would be a lot of work and besides I liked the effect that this soft charcoal was producing. So I decided to finish the picture and see if I could find some way of fixing the image to the paper. I use charcoal quite often but I usually do not apply fixatives. I don't like chemical odors and so rather than use chemical fixatives I just store my charcoal drawings as carefully as I can and just accept that there will be some deterioration in the image. In any case, I did not have any commercially available chemical fixatives in the house. When I was in grade school, I remember an art teacher using hairspray to fix a pastel. Do they still make hairspray - - I haven't seen a can for centuries. Also, that smelled awful when the art teacher used it back in ancient times. Somewhere along the line, I had read that Vincent Van Gogh and some of the Impressionists used skimmed milk as a fixative for their drawings. There was some skimmed milk in my refrigerator and so at the risk of having to eat dry corn flakes the next morning, I decided to experiment. There was no other downside because this drawing was not going to survive without being fixed. The article that I read about Van Gogh did not say how he applied the milk to his drawings. Taking a glass and dumping it on the drawing would obviously destroy the drawing as well as create a sloppy mess. Similarly, putting some milk on a paper towel and wiping or blotting it onto the drawing would damage such a delicate image. Spraying it on seemed to be the method most likely to succeed. All sorts of cleaning products come in spray bottles these days. But when I looked through the cupboard, all of the ones that I had seemed to be nearly full and it would be too wasteful to pour out their contents for the sake of a somewhat dubious experiment. Finally, I found a small sample size spray bottle that I had been given on by the spa on a cruise ship. It was almost empty so I cleaned it out. I also had no idea what formula Van Gogh used. Did he mix the milk with something else? Was it diluted? Inasmuch as I only remembered the article saying that he used milk, I just filled the spray bottle with milk straight from the milk bottle. Since I did not know how much milk to apply, I started with a few sprays. This had an immediate effect. A little bit of charcoal came off when I touched the drawing but the lines did not disappear as they had before the milk was applied. I sprayed it a few more times and next to nothing came off when I touched the drawing. The spray had a noticeable effect on the paper. Newsprint is not the best quality paper and apparently it does not like getting moist. There was some discoloration where the spray had been applied most heavily. However, the discoloration had disappeared by the next morning. There was also some slight puckering but I imagine that would not occur with better quality paper. I find it difficult to look at my works without finding something I want to change and so I was interested in whether I could modify the drawing after the milk had been applied. Not surprisingly, I could not intentionally smudge the charcoal to create shadows. However, I found that I could still make modest use of an eraser. Also, there was no problem adding additional lines not only with charcoal but also with Conte and Cray-pas. Overall, I viewed this as a successful experiment. The picture was preserved and it was an easy process with no odor or clean-up required. Portrait of George. Left: The drawing before applying the milk fixative. Middle: The drawing just after the milk had been applied. Right: The drawing the day after the milk was applied.
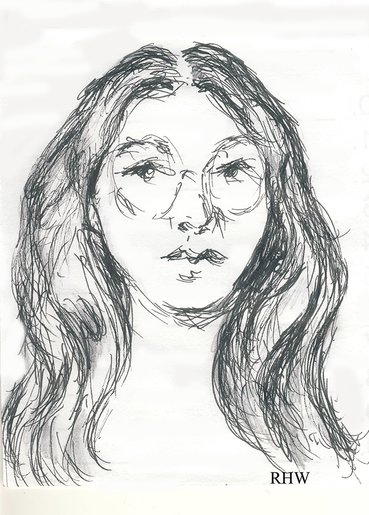 A waiting time sketch. Sharpie on note paper. A waiting time sketch. Sharpie on note paper.
Practice, practice, practice - - you read it everywhere, it is the key to improving your skills as an artist. But in order to practice, you need time and time is hard to come by. There are a million things that need to be done everyday ranging from doing the laundry to making a living. When is there time to practice?
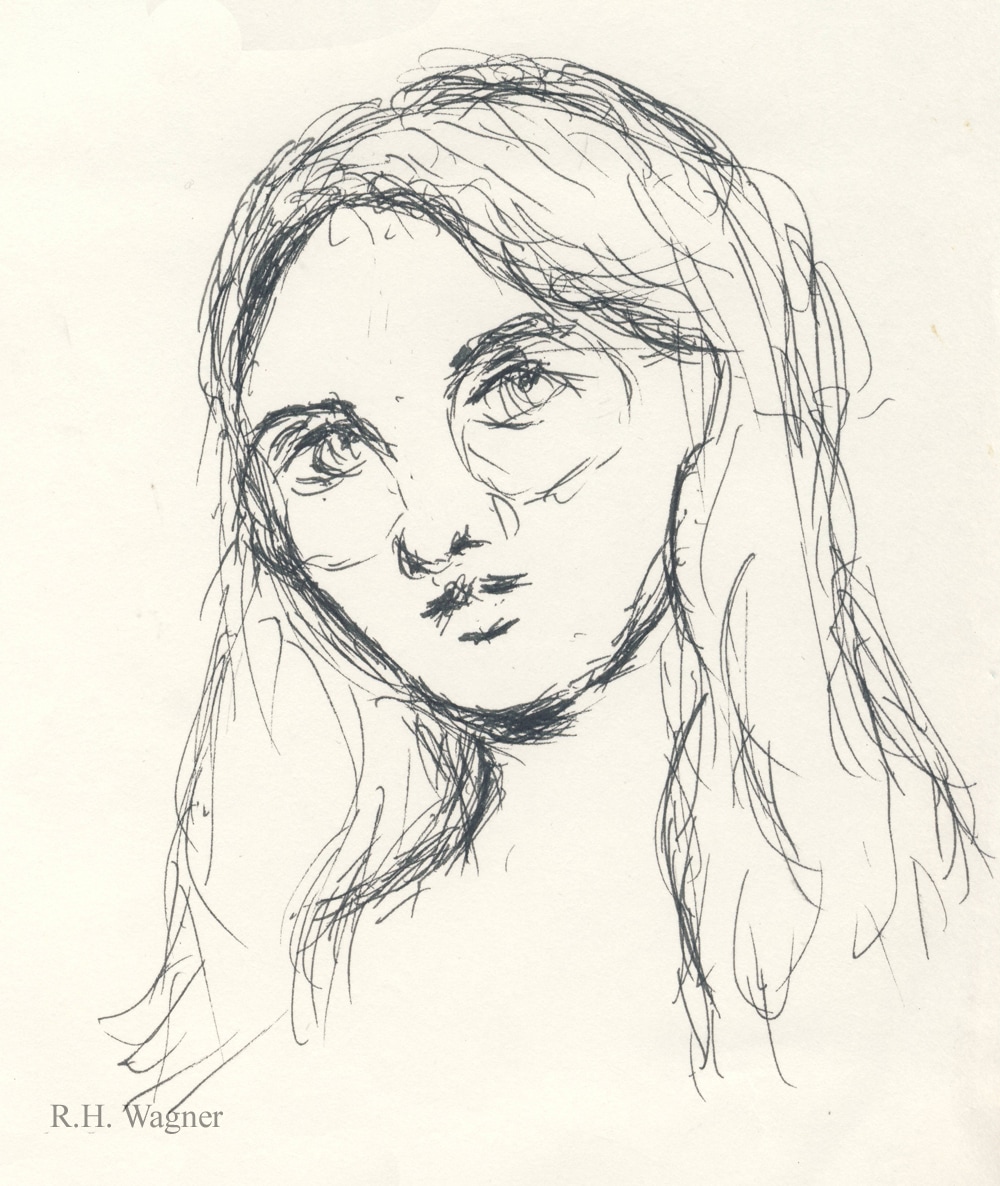
One thing that I have found helpful is to carry some paper and some type of drawing instrument with me and just sketch whenever there is down time. I sketch on commuter trains, when I am by myself in a restaurant, when I am waiting for the computer to upload, download or some other task that takes time. This practice has benefited me in two ways. First, I have seen a noticeable improvement in my art skills. Second, what had been wasted time is much less boring than it used to be. Train rides are not as long as they used to be. Doctors and dentists don't keep me waiting as long as they used to do. So what to draw? You can draw what is before your eyes. I once saw a video in which the popular artist Thomas Kingkaid said that he always carried a notebook in order to be able to sketch anything interesting that he chanced upon. But the places where I do my sketches are by definition boring places. There is a limit to the possibilities inherent in the inside of a railroad car. Also, people tend to become nervous if a stranger is staring at them. Consequently, I usually rely on my mind for subjects. I draw sketches of people that I have met over the years or places that I remember. In addition, I try to work out problems such as how the eyes look when a face is turned in a certain direction. I will concede that such memory-based subjects require some knowledge of the rules of proportion and perspective. However, doing these sketches has helped me understand the practical application of what heretofore had always seemed like academic theory. To supplement the memory-based subjects, sometimes I turn to the photos on my smart phone. I have included in my phone's photo gallery images of a number of people and places that have meaning for me or which I have found interesting. These photos can be used as subjects. Be careful not to drain your phone's battery, however. These sketches are not meant to be works that anyone would hag on their wall. They are just quick sketches - - often I will do a half dozen in a sitting. As above, they are intended primarily to improve my skills. Since they are not intended to be seen by anyone, I can relax while doing them. As a result, I have found that I am less tense when it comes time to do a more formal piece. When I really like an idea embodied in one of these sketches, I generally will copy it later on a larger scale. I have used an idea from one of these sketches for a whole series of more formal works. Another path is to photograph the sketch, transfer it to the computer and use it as a basis for a digital work. This need not be an expensive practice. One could purchase small sketch books and a good drawing instrument. However, most of the sketches that I have done were on the backs of scrap paper. The little note pads that hotels provide to jot down phone messages are also a favorite. As for the instrument, I often use golf pencils because they fit easily in my pockets. However, I prefer a pen-like Sharpie. One unintended consequence of this practice is that people talk to you. Most people do not ordinarily come across art work being created. They want to find out what is going on and see the work. Often they tell you a little bit about themselves. It has been a very pleasant experience thus far. |
AuthorRich Wagner is a writer, photographer and artist. Archives
November 2018
Categories
All
|
 RSS Feed